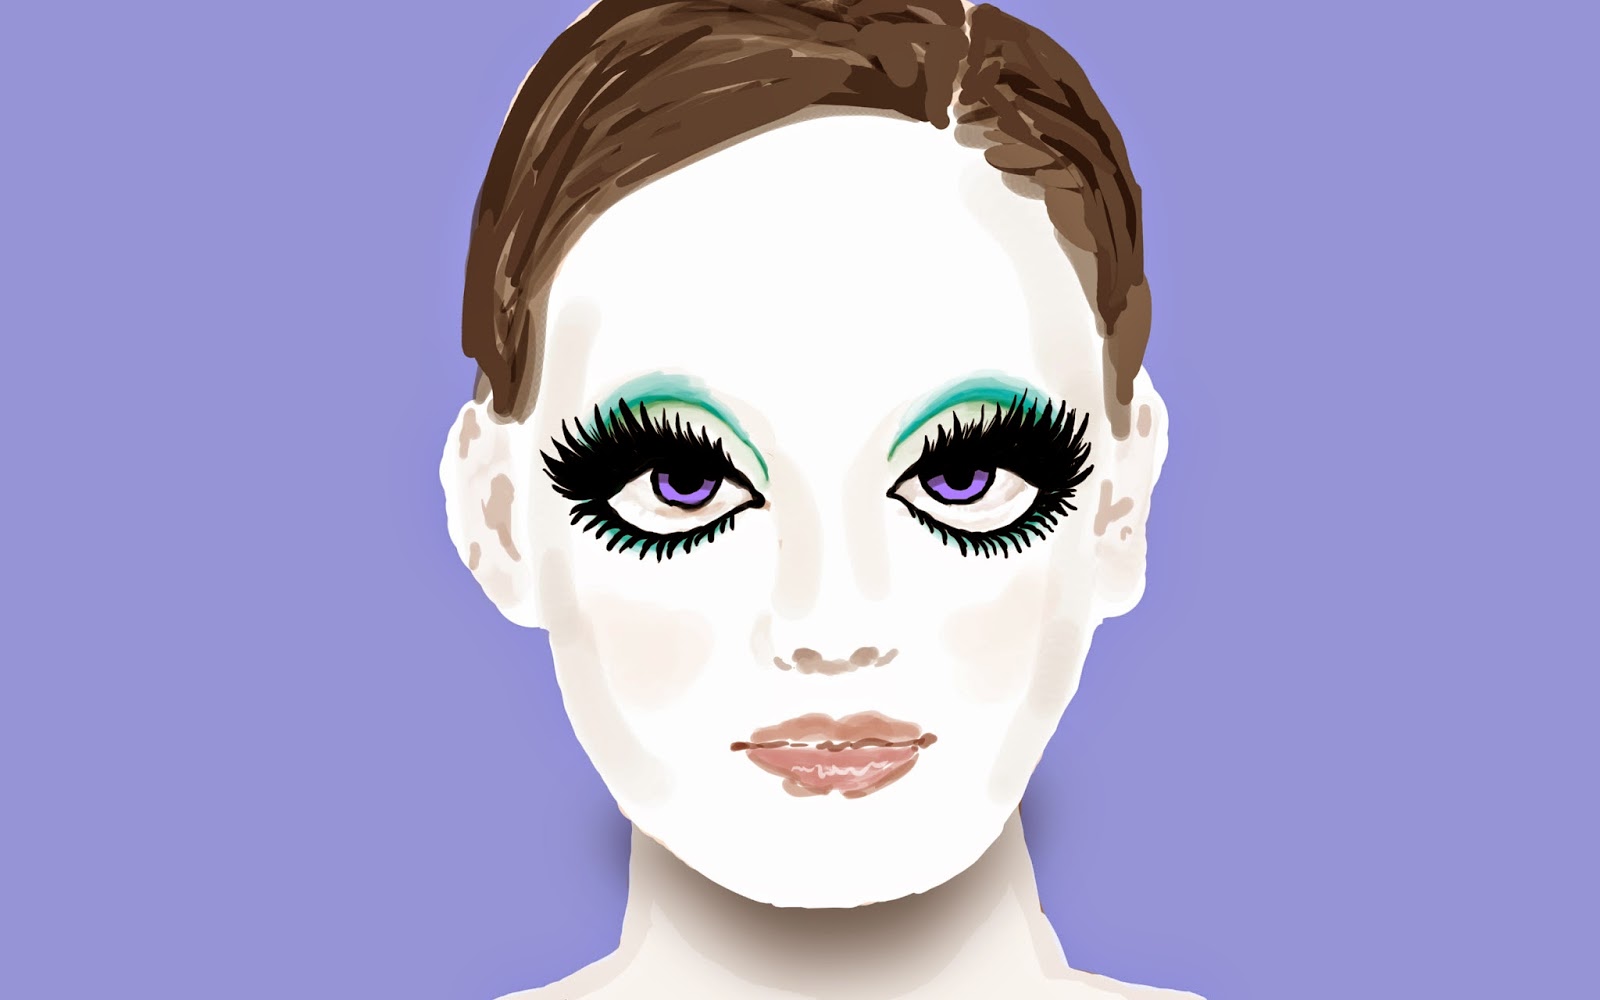
This is a simple illustrated guide in how to do a basic shironuri makeup. This is my style of doing it and I almost always work around this basic design, there are tons of different ways of course. You should always experiment and find what fits your face and style the best! Make sure to clean your face properly and put on whatever day cream you use, the makeup will look better on soft and clean skin.
The first thing to do is put in whatever colored lenses you are going to wear, since I'm going to have mostly green color in the makeup I pick purple as it is a good contrast and will make your eyes pop more. its important to t in your lenses first to not get white paint in your eyes. Always make sure you have clean hands before putting in your lenses. Circle lenses are an important part of the makeup and it will look a bit of without them.
Next step is to remove your eyebrows, if you really don't want to loose your eyebrows there are ways of covering them up but it is a lot more work, I will put in a link to a guide on how to do just that. The reason to not have your eyebrows is because we will make your eyes huge by moving up the eyelid fold and eyebrows. If you are going to remove them you can either use tweezers or shave them off. Using tweezers will make them grow out more smoothly and shaving them off is faster and hurts less but will leave you with a harder stub when they grow out. Personally I remove my eyebrows.
Then its time to put on the white base! I use a white cosplay foundation that I bought i Japan, but with whatever white foundation you will want to carefully dot it on with a makeup sponge, do not just paint it over as this will create lines. Be sure to cover your whole face, ears and neck. When you are done with this take thick layer of white loose fixing powder on a sponge and dot it on carefully. Be sure to not get the white foundation on the sponge. Use a lot of powder and when everything is covered just brush of the excess powder with a big makeup brush.
Start applying the eye-shadow, put it on pretty high on the eyelid and make a fade from the outside and in from green to white.
Continue with the eye-shadow and build up a bigger eyelid, the darker green lines should be right under where your natural eyebrows would be. Make it go out and down from your eyes on the outside since we will be making your eyes bigger.
Now put on a sharp eyeliner, use a liquid eyeliner to get really jet black lines. Draw in the upper line and make it continue down from where the eye ends on the outside. Make the bottom line go down to about where your eyebags are and then start going up to your eye in about the middle and in to the corner.
Make a shadow of green outside of the bottom line.
Now its time to put on your eyelashes, make sure to have really long and thick eyelashes for the top since we have made the eyes so much bigger. You can also use two pairs of eyelashes to make them thicker. They should start where the outer corner of your eyeliner is. Also have eyelashes on the bottom, it works great using the ones that are made to be more natural top lashes as bottom lashes just make sure they are turned the other way to that they go downward.
Start painting your new eyebrows on about a cm above where your natural ones are, I prefer smaller and shorter eyebrows. Paint on the shape you want with eye-shadow in a color that matches the hair you will have.
Make them more look like eyebrows by shading over with a darker color in the middle and drawing short lines to make it look like hair.
Next paint your lips, you can use white foundation mixed with lip-balm and then eye-shadow to color them. A light shade of the color on the eyes work well and have them be a bit darker in closer to your mouth.
Now just put on a wig and you are done to go out and scare children.. ehhr... I mean go out and look fabulous and take those selfies.
Here are two examples of variations of this basic design that I have had:
Hope you liked this guide! Thanks for reading.
//Love Minty


No comments:
Post a Comment